Ready-to-print custom DTF transfers have the potential to be very profitable for your business, providing superior-quality, stunning prints for use in many applications, including custom DTF transfer design.
However, their true value can only be unlocked if you understand how to press them properly. High-quality artwork is crucial when uploading designs for DTF transfers, as it enhances the vibrancy and durability of the prints. Additionally, using bright colors in your DTF transfers ensures that your designs maintain their vividness and stand out.
Without the correct technique, you risk running into issues such as inconsistent transfers, peeling, fading, or bad adhesion, resulting in wasted time and missed profit opportunities.
In this post, we will provide clear instructions for high-quality prints, including custom DTF heat transfers, to ensure fast delivery, fast shipping, and satisfaction. And teach you how to get the best results for apparel using the correct mixture of heat, pressure, and timing.
Introduction to DTF Transfers
DTF transfers, also known as Direct-to-Film transfers, are a popular printing method used to create high-quality, custom designs on various stuff, and materials.
This technology allows for vibrant colors, sharp details, and incredible durability, making it an ideal choice for custom DTF gang sheets, promotional items, and other applications. With DTF transfers, you can create unique and eye-catching designs on t-shirts, hoodies, and hats, making it a great option for clothing brands, businesses, and individuals looking to customize their products.
What Are Ready-to-Print DTF Transfers?
Ready-to-print transfers, including DTF gang sheets, are pre-printed designs on a special film made with DTF ink and adhesive powder. They are heat-applied directly to a (DTF transfer compatible) surface. These ready-to-press DTF transfers do not need weeding or intricate setup like screen printing or vinyl, making it perfect for small orders or detailed designs.
When customers decide on colors and designs for their customization of custom DTF transfers, they often face challenges and considerations that impact their satisfaction with the final product, especially when it comes to t-shirts.
Tools You'll Need
Before applying for DTF transfers on blank apparel, make sure you have the right tools to press DTF transfers :
- Heat press (with precise pressure and temperature control. If you don’t own a heat press, you can also use an iron or Circuit EasyPress, discussed below.)
- Teflon sheet or parchment paper
- Lint roller (to clean the fabric surface)
- DTF transfer (pre-printed and ready to apply)
- Garment (clean and flat)
- Heat-resistant tape (optional for alignment)
While household irons can get the job done, they won’t deliver the consistent heat and pressure needed for effective heat transfers and a strong DTF adhesion when you press DTF transfers. A home iron lacks the consistent heat and pressure required for optimal transfer results, making a heat press or a Cricut Easy Press a better option for achieving high-quality and durable results.
Designing for DTF Transfers
When designing for DTF transfers, it’s essential to consider the type of material, the design’s complexity, and the desired outcome. High-quality DTF transfers require high-resolution images, and it’s recommended to use a design software that can produce sharp, vibrant results.
The perfect design should also be optimized for the specific stuff and material being used, taking into account factors such as texture, weight, and color. By following these guidelines, you can create stunning, custom DTF transfer designs that will make your shirts stand out using direct-to-film technology.
Ideal Heat Press Settings for DTF Transfers
Each manufacturer may provide slightly different recommendations, but here’s a general baseline for pressing premium DTF transfers and DTF transfer designs:
- Temperature should be 300°F to 320°F (149°C to 160°C).
- Time should be 10–15 seconds.
- Pressure should be medium to firm (around 60 psi).
- Peel should be Cold, which means you have to wait until the transfer cools completely before peeling.
Always pretest your press settings before bulk production. Insufficient pressure or temperature can lead to poor adhesion or destruction of the transfer, especially when dealing with bulk orders.
Step-by-Step: How to Apply DTF Transfers Correctly
1. Prepare your Material
First, make sure that your fabric is debris-free. Next, lay it on the press and pre-press the item for 5–10 seconds to remove moisture and wrinkles. A trustworthy delivery service is crucial to ensure that supplies arrive on time to ship for DTF transfer applications.
2. Position the Transfer
Lay the DTF transfer film, with the design facing up and the film side down. If needed, use heat-resistant tape to secure the transfer before you ship it. DTF transfers are excellent for creating custom clothing and gifts, offering high-quality and ease of use for various fabrics.
3. Press the Transfer
Close the heat press and apply firm, even pressure for custom DTF transfers. Hold for the recommended time (usually around 12–15 seconds). UV DTF stickers are also a versatile solution for creating attention-grabbing designs that can adhere to a wide range of surfaces, including metal, wood, glass, and more.
4. Cool Down Before Peeling
Unlike other transfers, DTF transfers require a cold peel. Let the transfer cool completely, usually about 30–60 seconds, before peeling the film off slowly and carefully.
5. Post-Press for Extra Durability
You can do a second press for added durability and a softer feel. Place a Teflon sheet or parchment paper over the design and press again for 5–10 seconds.
Mistakes to Avoid
- Pressing Too Long or Too Hot: This burns the adhesive and decreases durability.
- Peeling Too Soon: Pulling off the film before it cools down can make the design lift or crack.
- Too Little Pressure: A gentle press won't fully bond the adhesive.
- Moisture in the Garment: Not pre-pressing may cause bubbling or peeling afterwards.
- Not Adhering to Manufacturer Instructions: Always refer to the details of the transfer you're using.
Tips for Perfect Results Every Time
- Keep Transfer Films Dust-Free: Store them in a clean, dry environment.
- Use Test clothes: Especially when using new transfers or clothes.
- Label Each Design With Its Settings: If you're working with multiple vendors, this helps avoid confusion.
- Use Consistent Pressure: Uneven heat or pressure can cause parts of the transfer to lift.
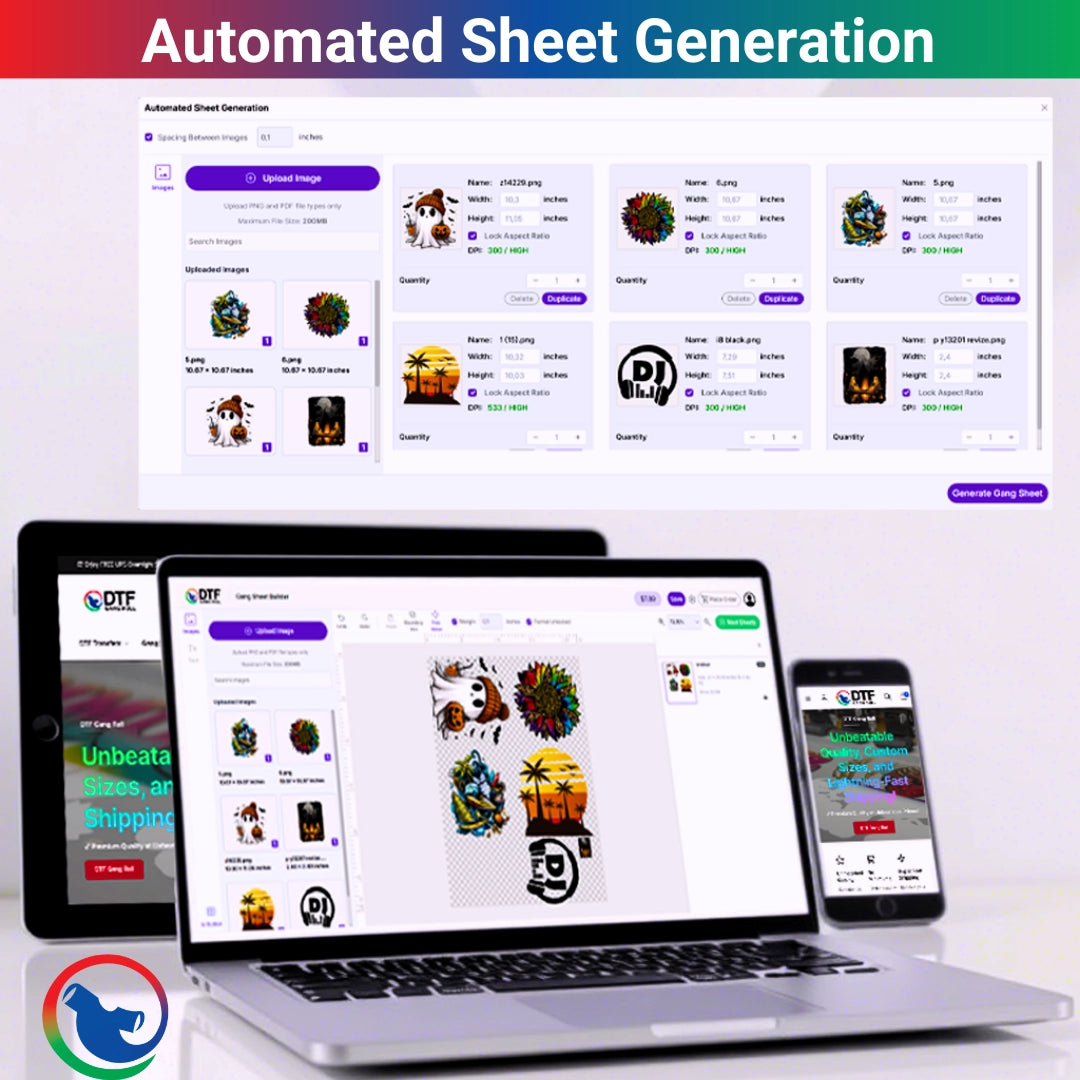
Working with DTF Gang Sheets
DTF gang sheets are a convenient and cost-effective way to produce multiple designs at once, including custom DTF gang sheets. A DTF gang sheet is a single sheet of paper that contains multiple designs, which can be cut and applied individually.
Working with DTF gang sheets requires some planning and organization, but it can help streamline your production process and reduce costs. To get the most out of DTF gang sheets, it’s essential to follow clear instructions, use high-quality materials, and invest in a reliable heat press.
Troubleshooting Common Issues
Like any printing method, DTF transfers can be prone to common issues such as misregistration, ink bleeding, or poor adhesion. To troubleshoot these issues, it’s essential to identify the root cause of the problem and take corrective action.
This may involve adjusting the heat press settings, using a different type of fabric, or modifying the design. By following troubleshooting guidelines and best practices, you can minimize errors and produce high-quality DTF transfers that meet your expectations.
Maintenance and Washability
After you are done applying your ready to press DTF transfers, including high quality DTF transfers for bulk orders and premium DTF transfers, the next step is to make sure that you stake care of your prints to ensure great quality and fast delivery for shipping to your customers.
- Wait 24–48 hours before the first wash
- Wash inside out with cold water
- Use cold water
- Avoid bleach
- Hang dry or tumble dry low
When cared for correctly, DTF prints can withstand 40–50+ washes with minimal fading or cracking, ensuring customer satisfaction due to their durable nature. Please note that our services are closed during major US holidays, which may affect production timelines around those dates.
When to Use Ready-to-Print DTF Transfers
- Ready-to-print transfers are ideal when:
- You don’t own a DTF printer
- You want to test new designs without investing in production equipment.
- You need quick, low-volume custom orders.
- You’re scaling up but still want full-color graphics on demand.
Discover our new DTF Transfers & UV Transfer Gift Sets to easily create customized clothing and decorate your gifts.
Heat Press vs. Iron vs. Circuit Easy Press
A heat press produces the most consistent results when using DTF transfers, and the Cricut EasyPress provides a good middle ground, offering adequate heat control with manual pressure. A household iron is the least consistent choice and produces unbalanced transfers because of uneven heat and pressure; however, it will get the job done for low-risk projects.
Here’s a quick comparison of how heat presses, Cricut EasyPress, and household irons stack up when applying DTF transfers:
|
Tool |
Temp |
Time |
Pressure |
Peel Type |
Notes |
|
Heat Press |
300–320°F |
10–15 sec |
Medium to firm |
Cold peel |
Pre-press fabric 5 sec; optional post-press 5–10 sec with cover sheet. |
|
Cricut EasyPress |
320°F |
15–20 sec |
Firm hand pressure |
Cold peel |
Use on a flat; press evenly across the entire design. |
|
Household Iron |
Cotton/Linen |
30–45 sec |
High (manual) |
Cold peel |
No steam; use parchment between the iron and the film. |
In Closing Remarks, we emphasize the importance of working as a team for successful results.
Learning how to apply and press ready-to-print DTF transfers effectively is essential for creating high-quality custom clothing that customers adore. With proper tools, skills, and training, you can produce consistently vivid, durable prints that withstand wear and wash for years to come.
Ready to start pressing custom t-shirts and DTF gang sheets for your custom apparel business?
Start using ready-to-print DTF transfers for fast delivery and experience the difference in color, feel, and durability.
Conclusion and Next Steps
In conclusion, DTF transfers offer a versatile and cost-effective way to create custom, high-quality designs on various fabrics and materials. By understanding the basics of direct-to-film transfers, designing for success, working with DTF gang sheets, and troubleshooting common issues, you can unlock the full potential of this technology.
Whether you’re a clothing brand, business, or individual, DTF transfers can help you create unique, eye-catching apparel that stands out from the crowd. To get started, simply upload your design, choose your fabric, and follow the ordering process. With fast delivery, unmatched quality, and incredible durability, DTF transfers are the perfect choice for anyone looking to customize their apparel and take their brand to the next level.