Custom DTF transfers are one of the fastest-growing trends in personalized clothing. They're versatile and durable and allow entrepreneurs and small business owners to create full-color images on virtually any substrate.
But like anything technical, DTF printing starts with one thing: your file. If your design file is not well set up, the final transfer, no matter how superb your printer is, will be less than a success. Whether you work at a small firm making shirts for customers or as a designer creating artwork for others, you must learn how to design artwork specific to DTF.
This article will discuss the essential techniques and tricks for creating flawless DTF artwork every time!
1. Use High-Resolution Images (300 DPI Optimal)
A good DTF print requires clear, high-definition pictures. Graphics taken from the web are only 72 DPI (dots per inch), which always leads to pixelated outcomes when printed. Good artwork must be 300 DPI resolution. This prevents lines from blurring and colors from fading, particularly for small design components like neck tags or logos.
2. Design in CMYK Color Mode
In contrast to screen printing, which may be color-separated, DTF prints in full color using a CMYK process. Therefore, design your files in CMYK rather than RGB to get the best print quality possible.
RGB colors are screen-optimized and may look bright in Photoshop but will appear dull in print. CMYK, on the other hand, provides an outcome that is closest to the actual graphic. For best results, always confirm your design shades with a DTF color chart before sending to print.
3. Set a Transparent Background
Your DTF printer prints anything you can see on the screen, so if the uploaded file has a white background, your printer will deposit white ink unless you are specifically told otherwise. Transparent backgrounds reduce needless layers of print. So make sure that:
- Utilize design packages, including Adobe Illustrator, Photoshop, or Procreate, to export your final artwork as a PNG file with the selected transparency feature.
- Don't flatten the background unless it's a part of your design.
4. Use Vector Graphics When Possible
Raster images (e.g., JPEG or PNG) can lose quality when resized, while Vector files (AI, SVG, EPS) scale without any loss of sharpness. Therefore, you must use vector graphics for your custom DTF transfers. Vector graphics are perfect for text designs, logos, and designs that contain text.
If you're using raster images, ensure they are high-resolution (300 DPI) and clean with no rough edges.
5. Make Text Legible – Mind Your Minimum Sizes
Tiny fonts and thin lines look great on screen but sometimes fail to make it onto film and fabric. That's why it's important to avoid font sizes smaller than 8 pt and line weights less than 1 pt. Always use bold or semi-bold fonts for small text items like care labels or branding labels.
6. Don't Use Too Much Detail on Small Designs
Even though DTF printing is better than most methods regarding gradients and detail, exaggerating fine, small art (like a 2" neck tag) can cause foggy prints. Instead of adding too much detail, simplify icons or logos for small designs.
7. Always Add a Bleed Area
If your image is on the film's border, some will be lost in clipping or misalignment. To avoid cutting errors, add a safe cushion of at least 0.125". As a rule of thumb, use a minimum of 0.5 inches of padding on the edges.
8. Flatten Layers and Name Your Files Accordingly
When you save designs to a gang sheet builder, you don't want any surprises, so it's best to flatten your layers before export. While creating artwork, name each file, for example, clientname_chestlogo_3x3.png. This speeds up your process and enables print providers to catch errors before the press.
9. White Ink Layering Planning
Custom DTF transfers include an underbase of white ink to make designs pop on dark garments. Ensure that there is always an underbase; however, semi-transparencies or soft glows are not recommended unless you know how they will print. To be safe, test your file against light and dark mockups to see how it works.
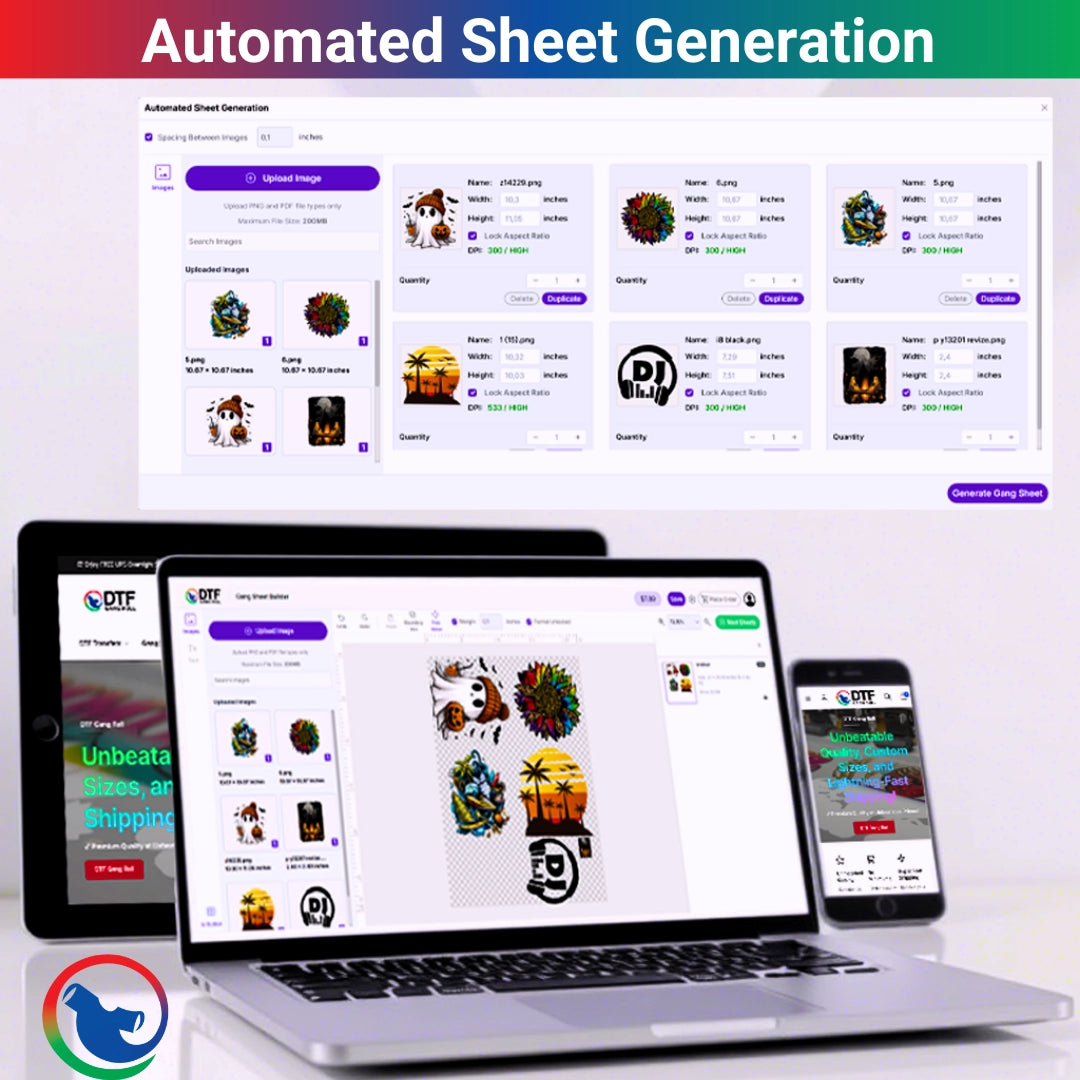
10. Gang Your Designs for Savings
When printing multiple shirts or taking orders with different sizes or logos, gang them together with a gang sheet to save money. Gang Sheet Builders enable you to upload designs, flip and resize, and place bulk orders.
To summarize, before you upload your artwork, keep the following in mind:
- 300 DPI resolution
- CMYK color mode
- Transparent background (.PNG)
- Vector files, when possible
- No text under 8 pt
- Safe zone/margin applied
- Layers flattened
- Clearly labeled files
- White ink considerations
- Gang multiple designs if possible
- Closing Remarks
Designing DTF transfers is not merely art; it's precision. Paying attention to proper setup processes and steering clear of common design mistakes will make your transfers print cleaner and infuse your garments with life for a longer period.
Whether you are printing shirts for your shop, fulfilling Etsy orders, or local sports teams, making your DTF artwork intentionally is worth it, in terms of profit margins and print quality. Ready to start? Order your custom t-shirt today with our color-rich transfers.