The busiest season for manufacturers of personalized clothing is Halloween. DTF transfers are the most effective approach to quickly complete the fun, eerie tees and hoodies that everyone wants.
If you’ve ever wondered how to apply DTF transfers perfectly, especially for Halloween designs, this guide will walk you through it step by step. You don’t need special training or expensive tools, just the right prep and pressing technique.
Let’s dive in and make sure your Halloween DTF transfers look professional, bright, and durable this season.
Step 1: Get Your Supplies Ready
Before you start, make sure you have everything you need:
-
DTF transfer sheet (your Halloween design)
-
Heat press machine
-
T shirt or garment
-
Teflon or parchment paper
-
Lint roller
Good prep saves time and avoids mistakes. Always double check that your transfer is free of dust or moisture before pressing. That’s the first step in DTF transfer application instructions many people skip.
Step 2: Prepare Your Fabric
The surface must be smooth and clean for the print to stick well. Use a lint roller to remove dust, hair, or small fabric particles.
Next, pre-press the garment before applying DTF. Press it for 3 to 5 seconds at around 280°F to remove moisture and wrinkles. This makes sure your Halloween shirt DTF transfer application comes out flat and even.
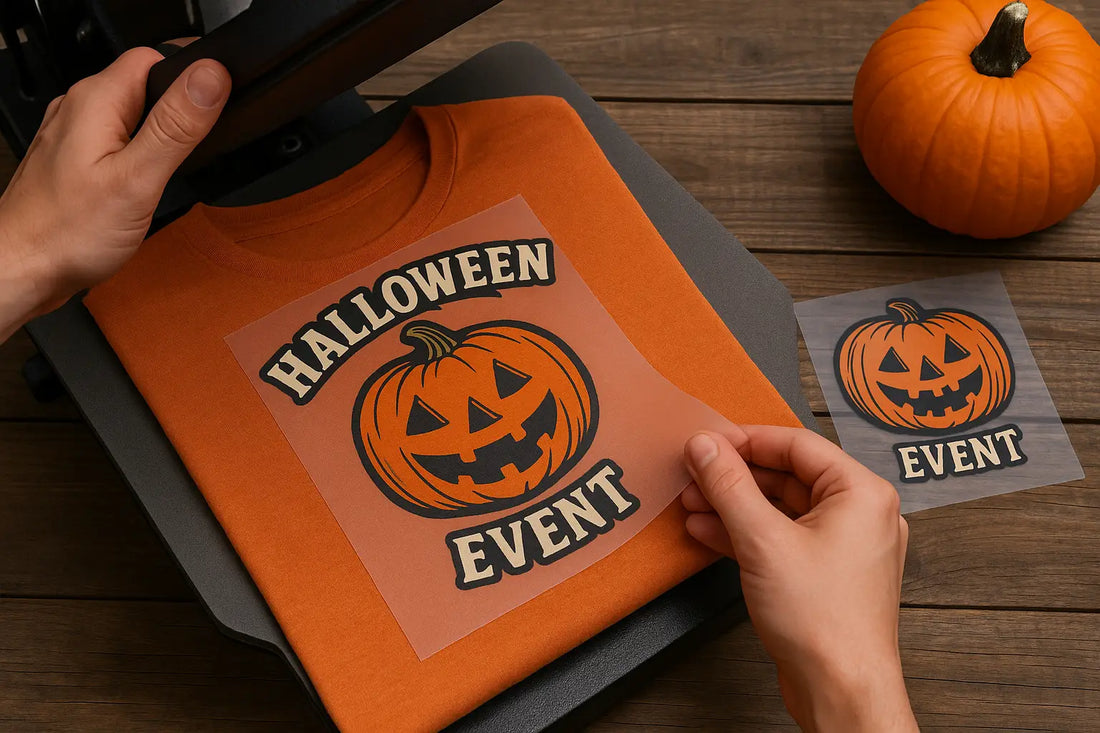
Step 3: Position the Transfer
Now place your DTF transfer film on the fabric, design side down. Center it carefully ,you don’t want your spooky pumpkin or ghost print leaning off to one side.
Use heat resistant tape if needed to keep it from shifting. A steady setup ensures even pressure during pressing, which is key for a smooth holiday DTF transfer application.
Step 4: Set the Right Pressing Temperature
Your press settings make all the difference. The general heat press settings for DTF Halloween prints are:
-
Temperature: 310°F (or 155°C)
-
Time: 15 seconds
-
Pressure: Medium to firm
Always check your DTF film’s instructions since some brands might vary slightly. The goal is to make sure the ink bonds deeply into the fabric for a long lasting design.
Step 5: Press the Transfer
Now press your Halloween DTF transfer. Apply even pressure for 15 seconds. Don’t rush or move the press, that could blur fine details.
Once done, let it cool for about 10 to 15 seconds before peeling. Cooling helps the adhesive bond better to the fibers, giving that smooth finish Halloween fans love.
Step 6: Peel the Film
There are two peeling methods: hot peel and cold peel. Most Halloween DTF transfers work best with a cold peel. That means you should wait until the film feels cool before peeling it off slowly.
Peel in a smooth, steady motion. If any corner lifts, cover it again and press for a few more seconds. This ensures your DTF sticks perfectly and won’t crack later.
Step 7: Post Press for a Stronger Bond
For the best results, post press your design. Place a Teflon sheet over the print and press again for 5 to 10 seconds.
This last step locks in the color and helps your DTF transfer application instructions come together for a pro level finish. It also removes any slight gloss, leaving your Halloween designs soft to the touch.
Step 8: Let It Rest and Cool
After pressing, let your shirt cool down completely. Avoid folding or wearing it right away. This helps the ink cure and makes the design more durable.
If you’re doing bulk holiday DTF transfer application, stack your finished shirts flat and let them rest before packaging. It’s a small step that ensures your prints stay perfect.
Step 9: Wash and Care Tips
To keep your spooky prints bright and smooth:
-
Wait at least 24 hours before the first wash.
-
Wash inside out in cold water.
-
Avoid bleach or harsh detergents.
-
Hang dry for the longest lifespan.
These tips help maintain your DTF pressing settings for Halloween designs results and ensure your shirts look great long after October.
Pro Tips for Beginners
-
Test one shirt before doing bulk orders.
-
Always store your transfers in a cool, dry place.
-
Avoid too much pressure, it can make edges blur.
-
For thick fabrics, increase press time by 3 to 5 seconds.
-
Use parchment paper for extra protection during the final press.
These simple tricks make your apply DTF transfer step by step process foolproof, even if you’re new to DTF printing.
Why DTF Is Perfect for Halloween
Details abound in Halloween images, which include illuminated pumpkins, spider webs, and eerie typefaces. All of stuff is vividly colored and captured with extreme precision by DTF.
Even on dark or black shirts, the prints maintain their softness, pliability, and vibrancy. For this reason, Halloween DTF transfers are used by a lot of designers to create limited edition clothing that appears polished and endures throughout the season.
Conclusion
Learning how to apply DTF transfers isn’t hard, it just takes the right prep, temperature, and patience. Once you master it, you’ll get bright, durable, and professional results every time.
Whether you’re printing Halloween shirt DTF transfer applications or custom holiday designs, DTF printing gives you endless creative freedom.
For premium quality Halloween transfers and reliable DTF supplies, visit DTF Gang Roll and start pressing your spooky prints today.
FAQs
1. What temperature should I use for Halloween DTF transfers?
Press at around 310°F for 15 seconds with medium pressure. These heat press settings for DTF Halloween prints ensure strong adhesion and long lasting, bright results.
2. Should I pre press garments before applying DTF?
Yes. To get rid of wrinkles and moisture, always pre-press the clothing for three to five seconds before using DTF. It improves the transfer's adhesion and durability.
3. Can I apply DTF transfers to all fabric types?
DTF works on cotton and blends. Just follow the correct fabric prep for DTF application and pressing settings for best print quality and flexibility.
4. What’s the best peeling method for Halloween DTF designs?
Most Halloween transfers use a cold peel method. Let the print cool down before removing the film to prevent lifting or damage to detailed artwork.
5. How can I make my Halloween DTF prints last longer?
Wait 24 hours before washing, turn the shirt inside out, use cold water, and hang dry. This simple care helps your designs stay vibrant for years.