Learning how to print DTF transfers at home can be a game-changer if you’re looking for a cost-effective, high-quality way to create stunning custom apparel. DTF, or direct-to-film printing, is a rising star in the garment decoration world, offering excellent color reproduction, versatility across fabric types like cotton and polyester blends, and ease of use.
Affordable and Accessible Printing for Beginners
With DTF direct-to-film technology, you can create vibrant, detailed, and long-lasting designs on various fabrics. The initial investment for home DTF printing is relatively low, making it accessible for beginners and small businesses. This article provides a step-by-step guide to the DTF printing process, covering all the tools and tricks you need to print your design like a pro.
What is DTF Printing?
DTF stands for Direct to Film, a printing technology in which your image is first printed on special film, specifically PET films, using DTF printers, and then heat pressed onto material. This process has several advantages over traditional methods like screen printing or sublimation, which are considered traditional techniques. One of these is the use of adhesive powder.
Achieving High-Quality Prints with Proper Equipment
Firstly, it provides deep colors, improved print quality, and decent durability on various materials, such as cotton and polyester fabrics. It is vital to use the right equipment and essential equipment to achieve the best results, including DTF printers and high-quality PET films.
Benefits of DTF Printing at Home
Printing DTF transfers at home offers many advantages, making it an appealing choice for hobbyists and small business owners. With a dedicated DTF printer, you gain complete creative control over your designs, allowing you to experiment and make DTF transfers whenever inspiration strikes. This eliminates the need to rely on third-party services, saving time and money.
Print On Demand with Minimal Waste
DTF printing at home is also incredibly convenient. Combining DTF ink, DTF transfer film, and a heat press machine can be managed in a small workspace, making it accessible even for those with limited room. You can print on demand, which means you only produce what you need, reducing storage requirements and minimizing waste. This flexibility is perfect for responding quickly to new trends or custom requests.
Versatility Across Fabrics and Applications
Another significant benefit is versatility. DTF transfers can be applied to various fabrics, including cotton, polyester, and blends, making them versatile for custom apparel, tote bags, and more. Whether creating unique t-shirts for yourself or launching a line of custom apparel, DTF printing at home empowers you to bring your ideas to life with professional results.
Choosing the Right Printer for DTF
Selecting the right DTF printer is a crucial step in achieving high-quality DTF transfers and prints. When evaluating your options, consider the print resolution and printer settings. Higher resolution printers will deliver sharper images and capture fine details, which is essential for custom T-shirts and intricate designs. Ink compatibility is another key factor; ensure the printer you choose works seamlessly with DTF ink to avoid color accuracy or print durability issues.
Printer Capabilities That Enhance Your Output
Popular DTF printer models often feature high-resolution output, wireless connectivity for easy file transfers, and the ability to handle various media types. Durability and ease of maintenance are also crucial for ensuring the printing process produces vibrant colors, especially if you plan to print frequently.
Ensure the printer and heat press are suitable for your intended use, whether focusing on t-shirts, tote bags, or other textile products that can effectively reproduce the printed design.
Make an Informed Investment in Your Printer
Take the time to research and compare different DTF printer models, weighing their features against your specific needs and budget. Investing in the right printer will set the foundation for producing consistently high-quality DTF prints and help you get the most out of your DTF printing journey.
Understanding DTF Powder and Adhesive
DTF powder, also known as hot melt powder, is vital in the DTF printing process. After your design is printed onto the transfer film with DTF ink, the DTF powder is applied to the wet ink. This powder acts as an adhesive, ensuring the printed design bonds securely to the fabric during the heat press process.
Choosing the Right DTF Powder for the Job
Different types of DTF powder, such as white and black, are each suited to specific applications. White powder is typically used for light-colored images and fabrics, while black powder is better for dark designs. Both help maintain color vibrancy and prevent unwanted halos. Choosing the right adhesive powder for your project is essential for achieving optimal results and ensuring your DTF transfer looks crisp and professional.
Best Practices for Applying DTF Powder
Proper handling and even application of the adhesive powder are critical. Make sure to cover the entire printed design, apply the powder evenly, shake off any excess powder, and cure it thoroughly before the heat press process begins. This attention to detail in printing will help you achieve strong adhesion and long-lasting, high-quality DTF transfers.
Color Settings for Optimal Results
Getting the most out of your DTF printing setup means paying close attention to color settings. DTF printing involves printing with specialized DTF ink, and the correct color settings are key to producing vibrant, accurate DTF prints. Start by ensuring your graphic design software is set to the proper color mode—typically RGB for digital design, but always check your printer and RIP software recommendations.
Use RIP Software to Fine-Tune Your Output
Understanding color spaces and profiles is also essential. Rip software designed for film printing can help you fine-tune color settings, manage white ink layers, and optimize print output, capturing all the fine details for the best possible results. A step-by-step guide will allow you to achieve the vivid colors and sharp details that set high-quality DTF prints apart.
Trial and Error for Perfect Color Balance
Don’t be afraid to test prints and adjust your settings as needed. With some trial and error, you’ll find the perfect balance for your specific printer, ink, and transfer film, ensuring every DTF print meets your expectations.
DTF Printing Safety Precautions
While DTF printing at home is accessible and rewarding, it’s essential to prioritize safety throughout the step-by-step process of your DTF printing journey. Working with a DTF printer, DTF ink, DTF powder, and a heat press requires some basic precautions to protect yourself and your workspace.
Personal Protective Gear and Proper Ventilation
Always ensure your area is well-ventilated, especially when handling DTF powder and DTF ink, as fine particles and fumes can be harmful if inhaled. Wearing gloves and a mask is recommended to prevent skin contact and inhaling powders or inks. When using a heat press, follow the manufacturer’s instructions carefully; these machines reach high temperatures and can cause burns if not handled properly.
Maintain a Safe and Organized Workspace
Keep your workspace organized and clutter-free to minimize the risk of accidents. Regularly maintain your DTF printer and heat press to prevent malfunctions and ensure safe operation. By following these safety guidelines, you can enjoy the creative process of DTF printing while protecting yourself and your environment.
How to Print DTF Transfers at Home
DTF printing is ideal for home printing as it can produce superb quality, durable, colored photographs, allowing you to make DTF transfers easily . Using quality materials is essential to achieve the best results and ensure your transfers are long-lasting and professional. The garments do not require pre-treatment like in DTG, which reduces your time and effort. It prints very well on dark and light-colored clothes and allows you to order small sizes without wasting materials.
Flexibility with Fabrics and Fashion Projects
DTF prints on an extensive range of fabrics, especially fashionable cotton-polyester blends. It is highly versatile, making it perfect for customizing a T-shirt or other apparel. With DTF, you can make DTF transfers at home using the right DTF transfer film and supplies. This process delivers vibrant colors and sharp edges in your designs, producing eye-catching and professional-quality prints.
Instructions: Home Printing DTF Transfers
Have your equipment and materials ready before home printing DTF transfers. Your equipment consists of a printer specialized for use with DTF (a repurposed inkjet printer such as the Epson L1800 or a printer specially made for DTF), special pigment-based DTF ink in CMYK and white, and PET DTF transfer film. Always follow the manufacturer's instructions for each device, including your household iron and material, to ensure optimal performance and safety.
Apply Adhesive Powder for Best Results
You will also need powder adhesive, which inhibits ink from running on garments. For even and efficient application, use a powder shaker to distribute the DTF powder adhesive across the DTF transfer film. A design program such as Adobe Photoshop or CorelDRAW is also required.
Transfer and curing use a heat press or oven as the heat source for improved safety and efficiency. Other items like a lint roller and Teflon sheet will keep applications smooth and lint-free.
Prepare Your Artwork for Clean Output
With your supplies on hand, begin by preparing your design. Using quality materials like high-resolution DTF film art, ideally at the best resolution of at least 300 DPI, ensures clean, rich output.
Print Settings That Optimize Color and Detail
Adjust your printer settings in the RIP software for film printing to achieve optimal color accuracy and detail, and ensure the correct ink levels, especially for the white underlayer. Print black t-shirts with a white under base and transfer film of your image for vivid results. Save the file as a program-readable one, TIFF or PNG with transparency, to preserve detail and depth of color.
Load Film and Apply Powder Adhesive
Place your DTF film matte side up in your printer. In your RIP software, set your levels to have the correct ink levels, especially your white underlayer, and choose the best print modes for film printing.
To avoid smudging fresh ink, begin printing and have the printed film exit the printer smoothly. While the ink is still moist, apply powder adhesive evenly over all printed surface area using a powder shaker for consistent coverage. Flip the film so the powder covers evenly, and scrape the excess. Adhesion will need full coverage to transfer well.
Properly Cure Your Design Before Pressing
Cure the powder and ink using a curing oven for faster, safer, and more consistent results. Alternatively, heat press over the film for two or three minutes at 160°C (320°F) or use a heat gun until the powder glazes to a shiny finish. The appropriate temperature and curing time may vary depending on the film and fabric used, so always consult the manufacturer's instructions. Overheating will destroy quality.
Prepare Apparel Before Applying the Transfer
Having prepared the printed film, the focus is on the apparel. Place it in the heat press and pass it through the lint roller to remove dirt, particularly for cotton-polyester fabric. Pre-press the apparel for five to ten seconds at medium pressure to evaporate moisture and iron out wrinkles that will obstruct the transfer.
Press the Film to Permanently Embed the Design
Preheat your press to 160°C to 170°C (320°F to 338°F) and place the cured printed film face down on the garment. Use medium pressure for 15 to 20 seconds. After completion, let the transfer cool to warm or cold peel based on the film utilized. Peel the film back slowly so your image is permanently embedded in the garment.
Seal the Design with a Final Press
To finish, make a second press by placing the design on a Teflon sheet or parchment paper and pressing for 10 to 15 seconds. The second press pushes the adhesive further into the fabric's fibers, making it more durable, wash—and wear-resistant. This step ensures you properly press DTF transfers for the best results.
Tips to Improve Print Quality
For quality prints, several things must be kept in mind. Keep your printer unobstructed to avoid experiencing ink-filled clogs, particularly with the high-white ink. Keep your DTF film somewhere dust-free and dry to avoid getting infected while printing on various fabrics.
Print with high-resolution images and test fabric when using new materials. Humidity in a room may influence powder adhesion, so monitor your working environment. Lastly, employ steady, medium pressure when pressing for repetition.
Typical DTF Printing Mistakes to Avoid
New prints will produce a range of preventable errors that impact their quality. Poor-quality transfer film can cause image shear or adhesion, and improper ink settings can cause blotting or color removal.
Failure to cure prevents the adhesive from activating completely, and insufficient white ink over dark products will result in dingy or transparent color. Maximizing attention to these variables in printing will significantly improve your print quality and overall output.
Closing Remarks
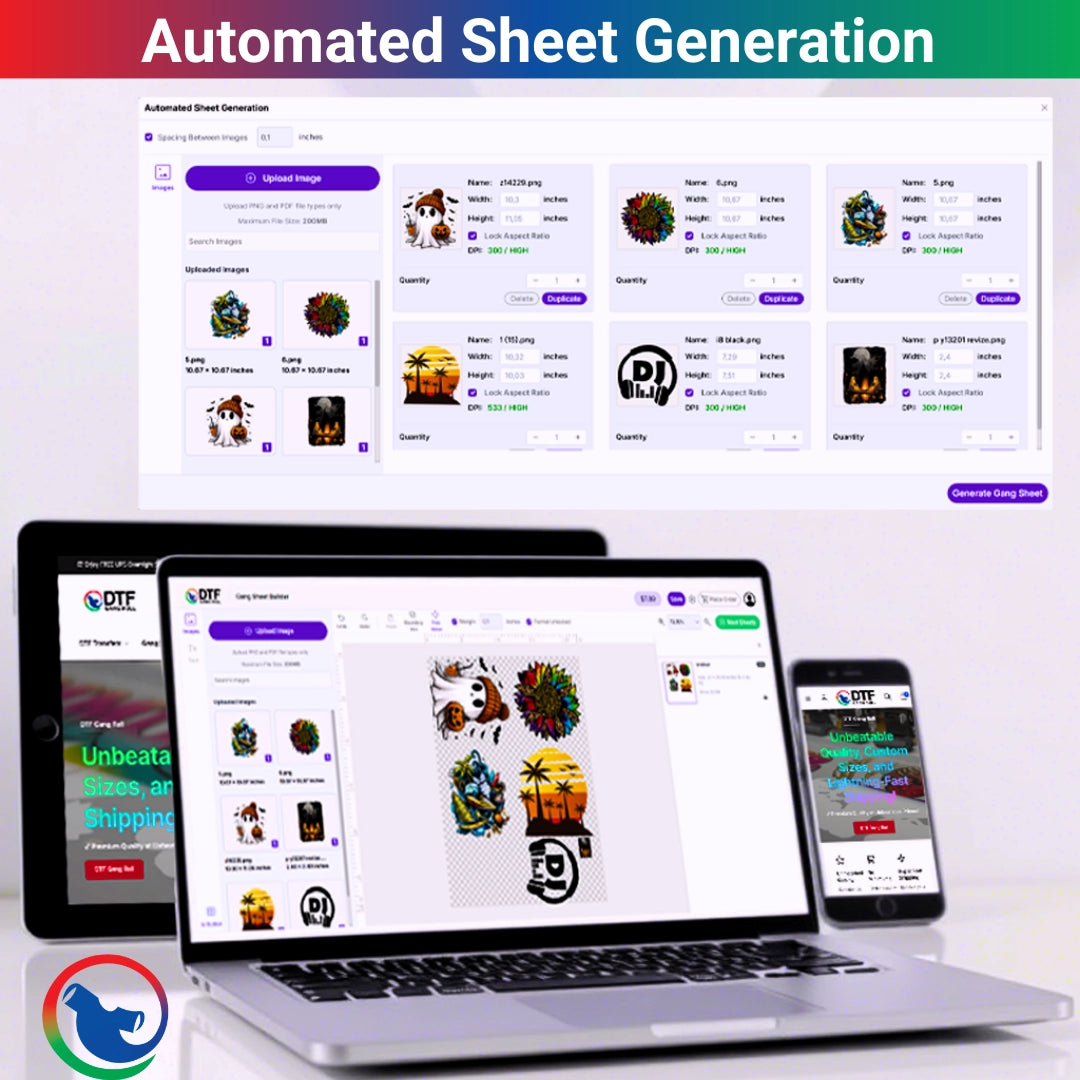
Having learned today how to print DTF transfers at home, you can now print DTF transfers at home and prepare to begin creating personalized tees with the professional look that your customers want. With the right gear, a good printer, DTF inks, Gang sheet Builder, and heat press, you can make DTF transfers and print vibrant, long-lasting designs on any fabric in your home.
Turn Your Designs Into Reality with DTF
Regardless of whether it is cotton, polyester mix, or anything else that you put on, the method of DTF makes it possible for you to exercise the design liberty and uniformity that you require to turn your idea into reality as a product. Practice is perfect, and if you can spare the time, you can master this printing technique and produce custom wear effortlessly.